This is not a step-by-step instruction but rather a description of my process including links and information. You can try to do this yourself, i did and i myself have gotten good results however your results may vary depending on your background. I don’t want to discourage you, as working on repairing things can be a great learning experience and is also very rewarding. A few key rules for repairing and disassembling things and getting them back together:
- Be careful. Make sure you prepare your working environment in such a way, that you can find things that might drop or roll around (like screws or bearing balls). I like to use a tray and sort everything i take off by subassembly. You might also want to disassemble sitting on the floor. This prevents things from rolling far away after dropping.
- Remember how and in what order you took things apart. It may be helpful to film the object you disassemble so you can rewatch the footage if you are unsure.
- Use correct and adequate quality tools to prevent superficial damage. Some screws might be corroded and will be difficult to remove, be mindful of the forces you apply and use correct tools to minimise stress, scratches etc.
- Everything that is of greater value and/or rare should be worth taking to a professional. Same thing goes for complicated mechanisms/electronics especially if there is no available documentation. Evaluate if it’s worth trying on your own.
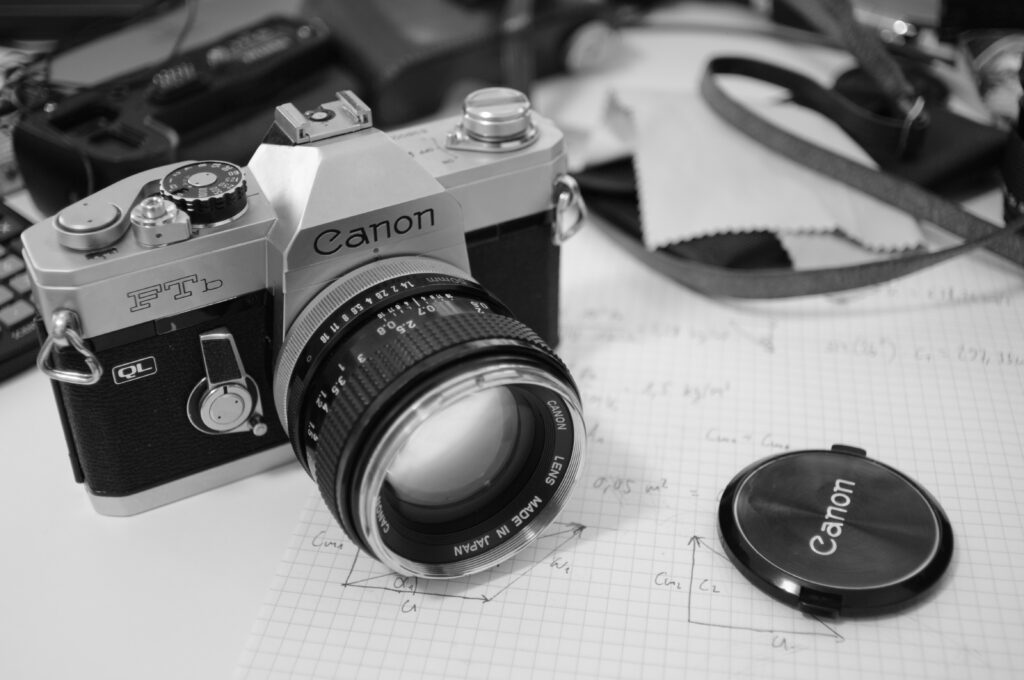
One of the two cameras i am using is a beautiful old Canon FTb QL, a fully mechanical SLR by Canon, which was produced from 1971 to 1976. It features a TTL (through-the-lens) exposure meter based on a Cadmiumsulfide LDR (light dependent resistor). As the camera and the CdS-cell are aging, the exposure meter will give less and less accurate results, in my case the meter would indicate overexposure meaning my shots would get underexposed if i relied on it. Fortunately Canon recognized this and installed three potentiometers and an additional screw for tentioning the feather of the exposure needle, to recalibrate the meter.
The meter itself used to use 1.35 V mercury batteries which have been banned basically everywhere, due to the inherent toxicity of mercury. There are however replacement zink-air batteries (search for „Weincell PX675“) which provide a similar constant voltage which is important for the meter albeit with lower durability since zink-air batteries discharge (or in that case rather oxidise) even when they are not used. Silver oxide batteries could also be used, due to their constant voltage over the lifetime of the cell, however they are 1.55 V which will also mean you would underexpose if you relied on the meter as the needle deflection would be too large. You could however either recalibrate the meter for 1.55 V (might not work as the pots do not have to much deflection) or use an adapter which features a diode to provide a relatively current-independent voltage drop of 200 mV (more on that in the future).
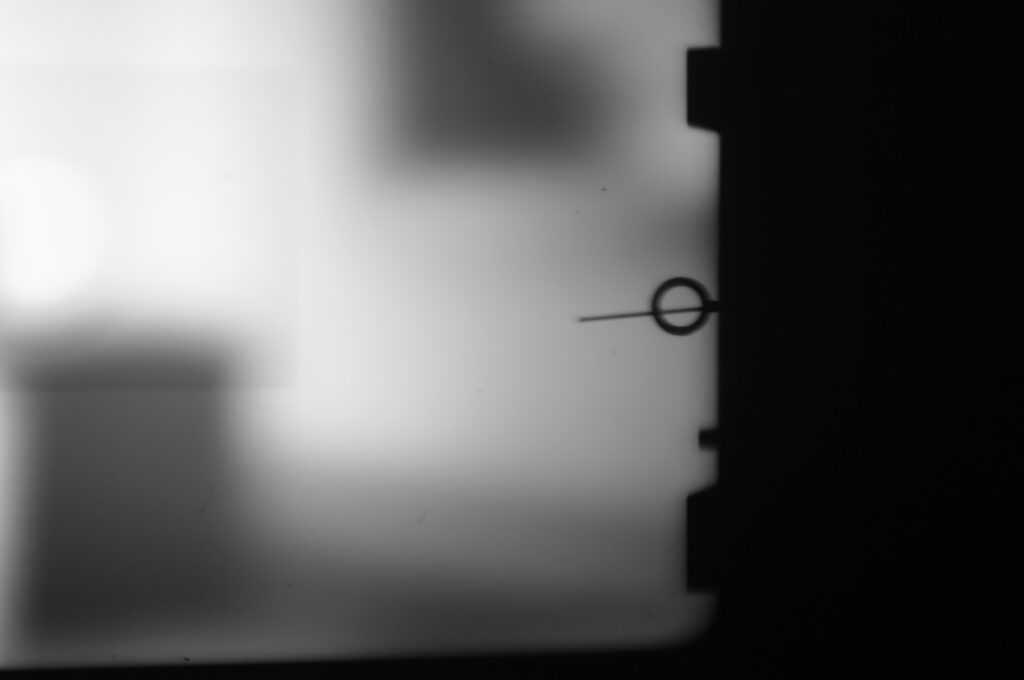
To recalibrate the meter, i first became aware of this forum post: https://www.photo.net/forums/topic/389037-how-to-adjustment-of-exposure-meter-of-ftb/ which explains at least in some detail, how this can be done. I then looked for a service/repair manual for the FTb (Google: „canon ftb ql repair manual“ and click on the 2nd result). I then searched for a video on how to take of the top cover (https://www.youtube.com/watch?v=8Sf_zs3u4zg).
After that i followed the instructions in the repair manual using a Light Pad i use for photographing negatives as a light source to get the reference EV-Values (i used the app „light meter“ on my phone to confirm“). You can use indirect light of a wall or something for the lowest setting.
Then i put the camera back together and got to photographing a few days later, always checking the exposure metering of the camera against the app on my phone and the results were almost always within half of a f-stop. Just at low lighting (EV 6 and below) the camera still tended to underexpose if one relied on the meter, so i will probably revisit this again, especially once i build the Silver-oxide batterie adapters to rejuvenate a few old light meters and cameras (more on that in the future).
I will put results here once i develop the Fomapan 100 i am currently shooting in the next development session.
Until then,
cheers
Schreibe einen Kommentar